
Overview
Cards form the basis for what appears on a phone’s screen when displaying messages for a particular Template. The form we are creating during this tutorial will have only one card as the number of form elements is small.
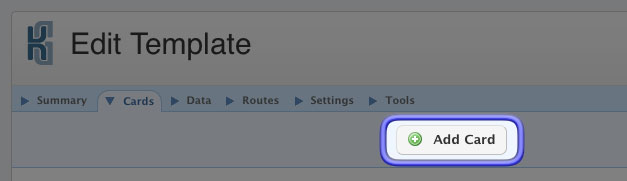
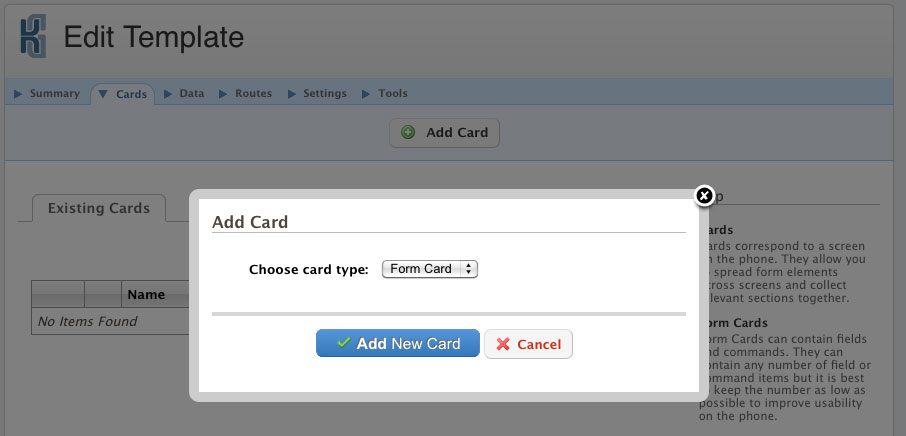
To create a card go to the cards section of the “Edit Template” page. Select “Form Card” from the type menu and click the “Add New Card” button. A new Form card will be added to the table below with the preset name “<New Card>”. Click on the “edit” link next to the card’s name.

Card Summary
In the summary section enter “Timesheet” as the name for this card. The name entered here will appear at the top of the screen on the phone.
Make sure Root is selected. A root card is the first card to appear when creating or viewing a message on the phone. There can only be one root card per template, as there can only be one first screen. You can think of a template as containing a deck of cards with the root being the first card off the deck.

Adding Fields
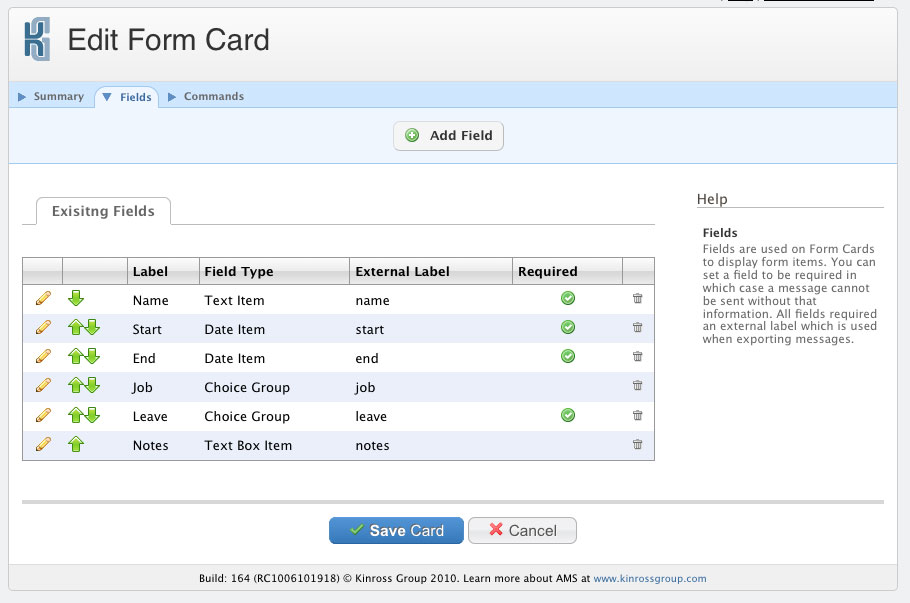
To add fields to the card go to the “Fields” section of the “Edit Form Card” page. Here we can add the form elements that will constitute our message.
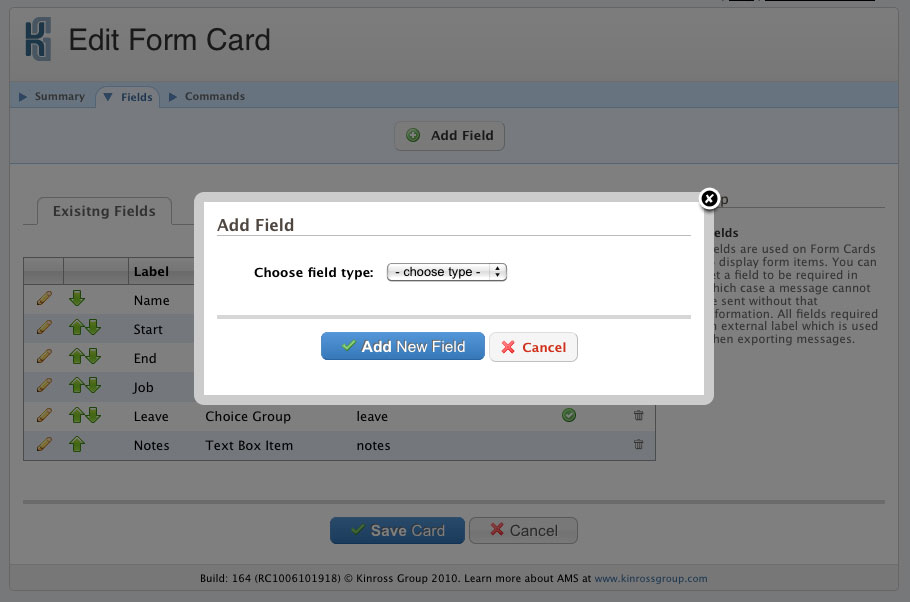
The first field we will add will be for the client name. This field can contain alphanumeric characters and can be at most 100 characters long. To add this field select “Text Item” from the type menu and click “Add New Field”.
The label for a field is the name of the field that will be displayed on the phone. Enter “Name” for the Label.
The external label is the name of the field used when exporting messages to external systems. It can be the name of an XML tag or a column heading in a CSV file. Enter “name” for the external label.
The type menu allows you to set some restrictions on the type of content allowed for this Text Item. Select “Any” for this field.
The max size restricts the number of characters for a “Text Item”. Enter 100 for the max size as per our definition above.
Selecting “Is Required” will cause the phone to prompt the user if there is no value for this field. Check this option.
Click “Update Field” to set our changes for this field. Do this after changing the values for each new field. Note that fields changes are not committed until the card is saved.
Similarly add the following fields:
| Type | Label | External Label | Options |
|---|---|---|---|
| Date | Start | start | Set type to ‘Date / Time / Date Time’ and set to required. |
| Date | End | end | Set type to ‘Date / Time / Date Time’ and set to required. |
| Choice Group | Job | job | Set type to ‘popup’ and choices to ‘Form,Foundations,Concrete’. |
| Choice Group | Leave | leave | Set type to ‘popup’ and choices to ‘Ordinary,Overtime,Sick,Bereavement,Special,Holiday’. |
Now we are ready to add our last field. For the notes section add a new “Text Box Item” field. Text boxes are useful for free form text and usually allow predictive text input. However a text box containing a large amount of text will increase the size of the message and conversely the cost of sending that message.
Set the label for the text box field to be “Notes” and external label to be “notes”. The type should be “Any” and choose a reasonable max size. Use the default of 160 characters for now. Text box items will actually display on a different screen to that of the containing card on the phone. As such we need to add a special command to link the two screens together.
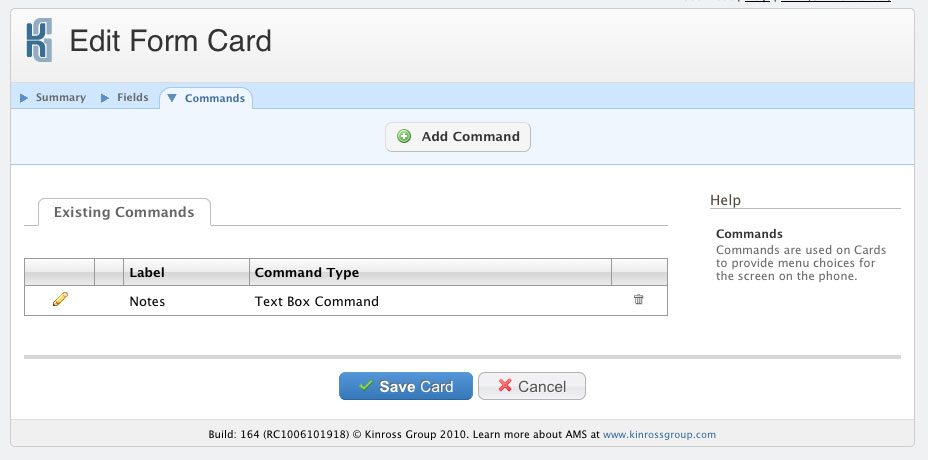
Go to the “Commands” section of the “Edit Form Card” page. Add a command of type “Text Box Command”. The label of a command is what will appear in the menu on the phone’s screen when on the “Timesheet” card. Enter “Notes” as the label. Select “Notes” as the “Target Text Box”.
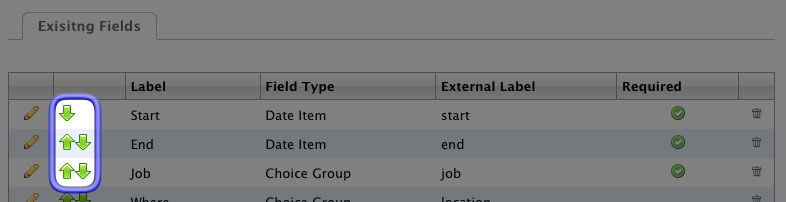
Field Ordering
Finishing Up
When finished click “Save” and you will be returned to the “Edit Template” page. Click “Save” again and you have finished your first template. To use a template to create messages you need to assign it to a Message Box. See the following sections for some options on how to extend your Template.
The Next Section covers adding a summary template to make messages easier to sort.